Driving Lessons in Toronto is exciting, but let’s be honest, it can also feel a bit scary at first. The streets are busy with cars, streetcars that stop out of nowhere, cyclists weaving around, and pedestrians everywhere. Even a short drive can feel overwhelming when you are just starting out.
The good news is that you can learn to drive safely and feel confident behind the wheel. It just takes the right lessons, some practice, and a little guidance. One thing that really helps is the G2 road test examiner sheet in Ontario. It is basically a checklist of what examiners look for on your G2 test, so you know exactly what to practice.
In this guide, we will walk you through everything you need to know about driving lessons cost, review,comapare in Toronto. We will talk about picking the right school, what a typical lesson looks like, common mistakes beginners make, and simple tips to stay calm and confident while driving. By following these steps and practicing regularly, you will be ready to handle traffic, highways, parking, and even winter roads without feeling stressed.
Think of this guide as your friendly roadmap to becoming a confident driver in Toronto. You can do this.
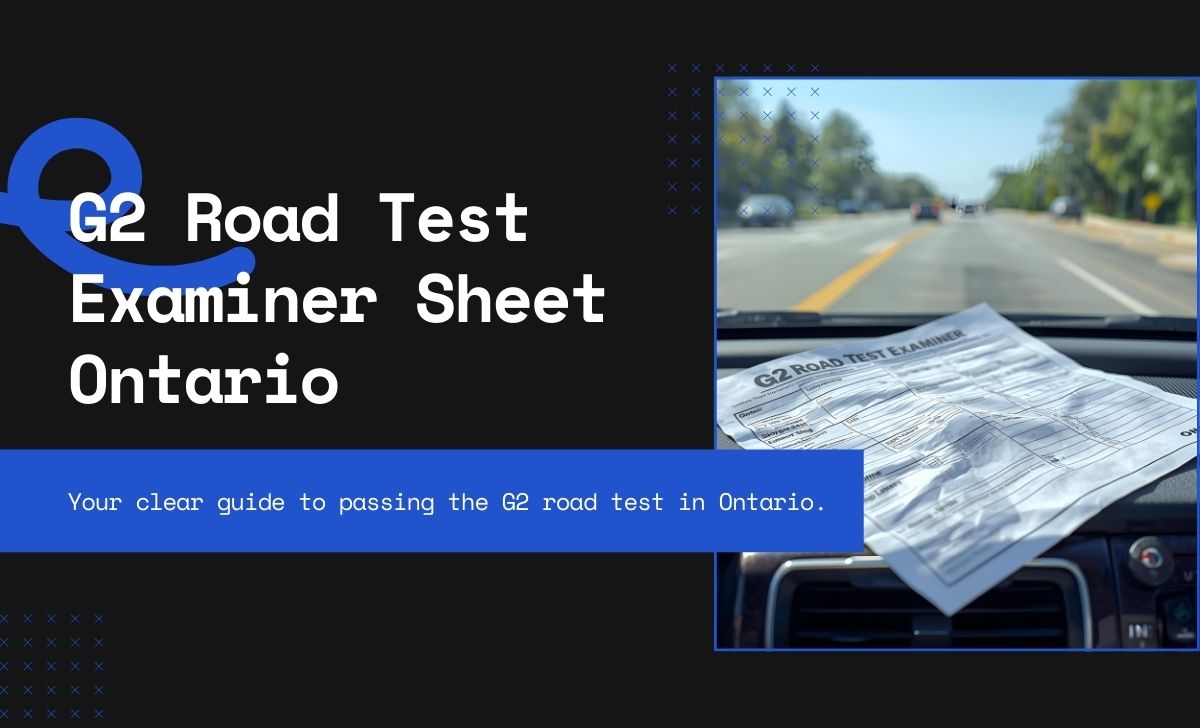
G2 Road Test Examiner Sheet Ontario
The G2 road test examiner sheet is not a secret code. It is simply a checklist of safe driving habits that examiners look for. Knowing what is on it makes your test less intimidating.
Examiners usually check:
- Proper use of mirrors and shoulder checks
- Smooth acceleration and braking
- Safe lane changes and merging
- Correct handling of intersections, stop signs, and traffic lights
- Parking skills and vehicle control
Think of the examiner’s sheet as a guide to safe driving, not a test you have to pass perfectly. Practicing with these points in mind will naturally prepare you for the G2 test.
Tip: Ask your instructor to show you a sample examiner sheet. It helps you understand what is expected and allows you to focus your practice on the right areas.
Types of Driving Lessons in Toronto
Toronto offers several types of driving lessons. Choosing the right type for your needs makes learning faster, easier, and more effective.
Private One-on-One Lessons
- You get full attention from the instructor
- Lessons focus on your weak points, like parallel parking, highway merging, or lane changes
- Usually faster learning but a little more expensive
Example: A beginner had trouble with lane changes. During private lessons, the instructor corrected mistakes immediately, which helped the learner gain confidence faster.
Group Lessons
- Learn with other students in a car or in a classroom
- Cheaper and allows you to learn from other students’ mistakes and questions
- Less personalized because the instructor cannot focus only on you
Tip: Group lessons are good for budget-conscious learners or for practicing in a social environment.
Package Programs
- Structured bundles of 10, 15, or 20 hours
- Cover everything from basic skills to advanced maneuvers, including city driving, highways, and parking
- Provides structured learning, which is helpful for beginners
Example: A learner who took a 15-hour package gradually built skills from quiet streets to downtown traffic and highway merging. The structured approach gave them confidence and a sense of progress.
Refresher Lessons
- For learners who already know the basics but need extra confidence
- Focus on problem areas like city driving, highway merges, or parking
- Can be scheduled as needed rather than as part of a fixed program
Pro tip: Always choose an MTO-approved driving school. It ensures lessons follow Ontario rules and prepare you for the G2 test.
Choosing the Right Driving School in Toronto?
Choosing a good driving school Toronto is just as important as the lessons themselves. The right school and instructor can make a huge difference in your learning.
Look for:
- MTO Approval: This ensures that the school meets Ontario standards for safety and curriculum
- Instructor Experience: Ask how long the instructors have been teaching and their success rates
- Lesson Flexibility: Morning, evening, or weekend lessons are important for consistent practice
- Vehicle Condition Modern dual-control cars make learning safer. Choose automatic or manual based on your preference
- Cost and Packages: Compare prices, but do not compromise on quality for savings
Example: One learner picked a cheap school, but the car was old, the mirrors were broken, and the instructor was disorganized. Learning was stressful and slow. Choosing a slightly more expensive but reliable school would have reduced stress and improved learning.
Tip: Ask if the school provides progress reports. Knowing your strengths and weaknesses makes practice more effective.
What Happens During a Driving Lesson in Toronto?
Toronto traffic can be hectic, so lessons are designed to start simple and gradually introduce new skills.
Orientation
Adjust the seat, mirrors, and steering wheel for comfort and visibility
Learn the pedals, dashboard controls, and handbrake
Understand basic car functions like indicators, wipers, and headlights
Basic Driving Skills
Practice starting and stopping smoothly
Steering control on quiet streets
Mirror and shoulder checks to build safe habits
City Driving
Stop signs, traffic lights, and intersections
Lane changes, merging, and yielding
Handling pedestrians, cyclists, and streetcars safely
Parking Practice
Parallel, angle, and roadside parking
Using cones to simulate real parking situations
Focus on precision, confidence, and slow, controlled movements
Highway Driving
Merging safely onto highways
Maintaining a steady speed and safe following distance
Exiting and changing lanes safely
Feedback and Review
The instructor reviews your performance, highlighting strengths and areas to improve
Provides exercises and homework for the next lesson
Lesson Progression Table
Stage Focus Areas Mini Exercise Orientation Seat, mirrors, controls Adjust seat & mirrors, start smoothly Basic Driving Moving, stopping, steering Stop & start 10 times on quiet street City Driving Intersection, signals, lane changes5 left/right turns, lane changes Parking Parallel & angle parking Park between cones or empty spaces Highway Driving Merging, exits, speed Merge safely, maintain safe distance Feedback & Review instructor observations Note 3 strengths & 3 weaknesses
Common Beginner Mistakes
Beginners often make similar mistakes. Knowing them can help you avoid them.
Oversteering or understeering due to nervous hands
Forgetting shoulder checks
Speed inconsistencies, either too fast or too slow
Late or missed signals
Hesitation while parking
Over-braking in fear of collisions
Example: One learner kept over-braking at streetcar stops. The instructor suggested a drill of five consecutive stops with smooth braking. The learner’s confidence and vehicle control improved greatly.
Mistakes & Quick Fixes Table
Mistake: Why It Happens. Quick Fix. Oversteering. Nervous hands. Practice slow, controlled turns. Shoulder check missed. Forgetting sequence. Pair mirrors with a shoulder check. Speed fluctuations, anxiety, or traffic. Maintain steady speed, use the speedometer. Missed signals. Habit not formed. Signal with every action. Parking hesitation. Judging distance. Use cones or reference points. Over-braking. Fear of collision: Practice smooth braking
How to Get the Most Out of Your Lessons?
Want to actually learn instead of just sitting in the car? Here’s how to get the most out of every driving lesson and turn practice into real confidence behind the wheel.
Set small goals. Focus on one skill per lesson.
Take notes. Write down instructor tips and mistakes to review later.
Practice in between lessons with a parent, friend, or another responsible driver.
Simulate real test conditions. Practice on busy streets, highways, and in parking lots.
Use defensive driving. Always watch for pedestrians, cyclists, and other vehicles.
Manage nerves with deep breathing and mental focus before driving.
Weekly Practice Plan Table
Day Focus Area Exercise Mon Steering & brakes, Slow turns, smooth stops Tue Mirror & shoulder check Lane changes with checks Wed Parking, Parallel parking between cones Thu City driving, Stop signs, traffic lights, turns Fri Highway driving Merge, maintain speed, exit safely Sat Full simulated drive, Combine all skills, 20–30 min drive Sun Review Note strengths & weaknesses
Toronto-Specific Tips
Toronto traffic can be challenging for beginners. Focus on:
Streetcars. Keep a safe distance and anticipate doors opening. Stop slightly behind them and watch for passengers crossing.
Cyclists. Check mirrors and blind spots carefully. Downtown cyclists can appear suddenly.
One-way streets. Plan turns in advance and know exits ahead of time.
Rush hour. Stay patient, avoid abrupt lane changes, and maintain steady speed.
Winter driving. Increase following distance, brake gently, and anticipate icy patches.
Example: A learner was confident on suburban streets but panicked downtown near streetcars and cyclists. Gradual practice in different areas helped build confidence.
City Driving Exercises
City driving can feel chaotic at first, but the right exercises make it way easier. Here’s how to practice in real traffic so you stay calm and confident.
Lane positioning. Stay centered and avoid drifting.
Intersection awareness. Stop fully, scan left-right-left, and watch for pedestrians.
Right-of-way rules. Yield to pedestrians and cars with priority.
Traffic light management. Observe early, slow gently on yellow lights.
Streetcar awareness. Keep distance, watch for doors and passengers.
Mini Exercise: Pick a 20–30 minute city route. Stop fully at all stop signs, perform left-right-left scans, signal early, and take notes on mistakes. Discuss these with your instructor after the drive.
Highway Driving Exercises
Highway driving can feel intimidating but is essential for test preparation.
Merging. Check mirrors and blind spots, match highway speed, signal early.
Lane discipline. Stay centered and avoid weaving.
Safe following distance. Keep at least 2–3 seconds behind the vehicle in front. Increase distance in rain, snow, or heavy traffic.
Exiting and lane changes. Plan ahead, signal early, check mirrors and shoulders.
Mini Exercise: Practice merging from an on-ramp at least three times. Drive in the middle lane for 10 minutes, maintaining steady speed and distance. Practice lane changes and exits while focusing on smooth braking and acceleration.
Parking Drills
Parking doesn’t have to be stressful. With the right drills, you can master parallel, angled, and reverse parking without breaking a sweat.
Parallel parking: Align rear bumper with car behind, reverse slowly, straighten, and adjust distance from curb.
Angle parking: Turn slowly into the spot and align with lines.
Reverse parking: Check mirrors and shoulder, back in slowly while turning the wheel toward the spot.
Mini Exercise: Use cones to simulate spaces. Practice each type 5–10 times. Then move to real parking spots when confident.
Tips for Reducing Nerves
Feeling nervous behind the wheel is totally normal. Here are simple tips to calm your nerves and stay focused so your driving test doesn’t feel scary.
Deep breathing using the 4-7-8 method before driving
Visualize completing maneuvers smoothly
Start on quiet streets and gradually progress to busier areas
Use positive self-talk. Tell yourself you are prepared and capable
Example: One learner panicked at their first traffic light. Counting to three before moving became a calming routine that worked in all subsequent lessons.
Top 10 Quick Tips for Driving Lesson Success
Want to get the most out of your lessons without overthinking? These 10 quick tips will help you learn faster, drive smarter, and feel more confident behind the wheel.
Check mirrors every 5–7 seconds
Signal all lane changes and turns
Scan intersections left-right-left
Brake and steer slowly and smoothly
Plan ahead and preview routes
Count during stops to ensure a full stop
Practice parking daily
Simulate test conditions with full drives
Stay calm using deep breathing and visualization
Review your strengths and weaknesses after each lesson
Full Step-by-Step Practice Plan
Learning to drive can feel scary at first, but you can get there little by little. Here’s a simple plan to practice on your own and actually feel confident behind the wheel.
Week 1: Getting Comfortable
Adjust your seat, mirrors, and steering so you can reach everything easily.
Learn the basics: indicators, lights, horn, wipers, and gear shift.
Practice starting and stopping until it feels smooth.
Make small turns and always check your mirrors and blind spots.
Drive slowly in quiet areas until you feel more at ease.
Tip: Don’t stress about messing up. Everyone does at first. Short practice sessions are better than long ones.
Week 2: City Streets
Practice right and left turns and try a U-turn when you feel ready.
Learn to change lanes safely and always check your mirrors.
Stop properly at stop signs and traffic lights.
Start on quiet streets and work your way up to busier roads.
Keep an eye out for pedestrians, cyclists, and streetcars.
Tip: Focus on smooth braking and gentle acceleration. Skip rush hour until you feel ready.
Week 3: Parking and Highways
Practice parallel, angle, and reverse parking in empty lots first.
Try highway driving. Focus on merging, changing lanes, and keeping a safe distance.
Learn to use entrance and exit lanes properly.
Adjust your speed depending on traffic and weather.
Tip: Keep doing parking exercises until you feel confident. Try highways during quieter times at first.
Week 4: Putting Everything Together
Combine city streets, suburbs, and downtown driving in one session.
Handle real challenges like streetcars, cyclists, and narrow streets.
Try timed drives and checklists to see what still needs work.
Practice like it’s the real test, with a friend or instructor watching.
Tip: Take your time, stay calm, and repeat anything that feels tricky.
Drive with Confidence!
Toronto driving lessons are designed for gradual, safe progress. Key reminders:
Safety is more important than perfection
Check mirrors and blind spots consistently
Signal early and clearly
Stay calm and practice consistently
Review your progress after each lesson
Example: A nervous learner completed a 20-hour lesson package. On their first downtown drive, they merged confidently, handled streetcars, parked successfully, and followed all traffic rules. Consistent practice, checklists, and step-by-step progression were the key to success.
By following this guide, practicing consistently, and building skills gradually, you can become a confident and safe driver in Toronto. Start today with our MTO Approved Driving School and build skills that last for life.
Real Questions New Drivers Ask About Driving in Toronto
I’m nervous. What is the G2 road test examiner sheet in Ontario?
It’s just a checklist that examiners use to see if you’re driving safely. It shows what to practice, like checking mirrors, changing lanes, handling intersections, and parking. Knowing it makes the test less scary.
How long are driving lessons? Most lessons are 1 to 2 hours. Private lessons give full attention from the instructor. Group lessons are cheaper and you can learn from others, but you get less personal help.
Do I need my own car to learn? No. Most schools provide cars with dual controls, so you can learn safely without owning a car.
How do I get better at city driving? Start on quiet streets and practice stop signs, traffic lights, intersections, and watching for cyclists and streetcars. Gradually try busier streets as you get more confident.
Highways scare me. Any tips? That’s normal. Practice merging safely, keeping a steady speed, checking mirrors and blind spots, and signaling early. The more you practice, the easier it gets.
I get nervous before lessons or tests. What can I do? Take deep breaths, imagine driving smoothly, start on quiet streets, and tell yourself you can do this. Positive thinking really helps.
How do I pick a good driving school? Look for MTO-approved best schools in Toronto, experienced instructors, modern dual-control cars, flexible lesson times, and good progress tracking. Choosing well makes learning easier.
What mistakes do beginners often make? Forgetting shoulder checks, oversteering, speeding up or slowing down too much, hesitating while parking, and braking too hard. Practicing these helps a lot.
Can I practice outside of lessons? Yes. Practice with a parent, friend, or responsible driver. Focus on one skill at a time and try to mimic real test conditions. How do I feel confident driving? Take it step by step. Set small goals, review what you learned, practice regularly, and slowly try more challenging roads. Confidence grows with practice.